
Bing Had No Opinion Whether This IS Kosher or Not
My (maybe)
Parting Gift To All My Readers: Get SyncToy Now!
Computer Karma's
gonna get you
It's
gonna take away all your bread
Better use a bunch of different passwords
Before your bank account is in the red
— With Apologies to Mr.
John Lennon
↓
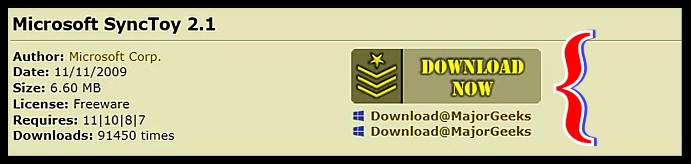
From the MajorGeeks website
from one of the 2 links displayed
or →
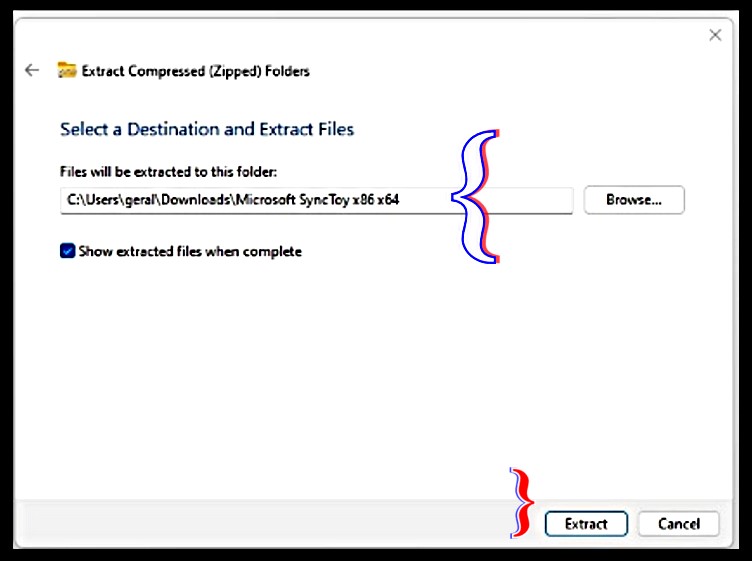
In Windows 10 and Windows 11 NO ADDITIONAL SOFTWARE IS NEEDED TO
UNZIP THE CONTENTS OF THE ZIP FOLDER.
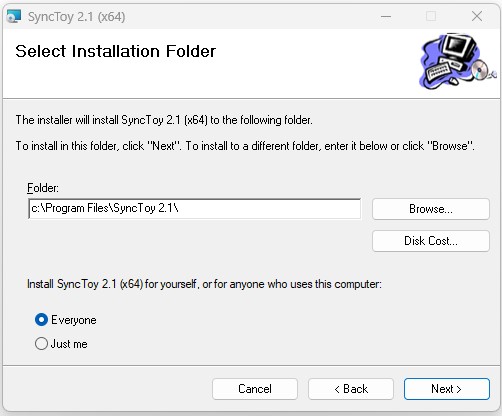
Click the Microsoft SyncToy 32 bit x86 or x64.zip 64 bit
Most Windows 10 and Windows 11 will use the 64 bit version


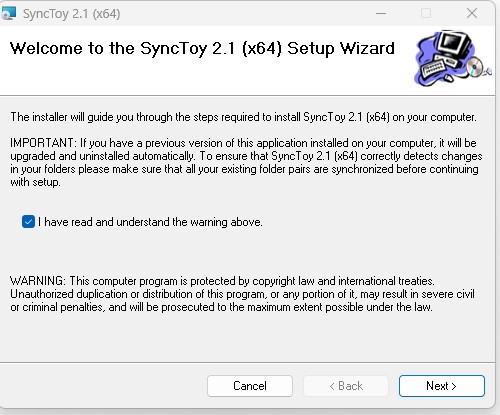
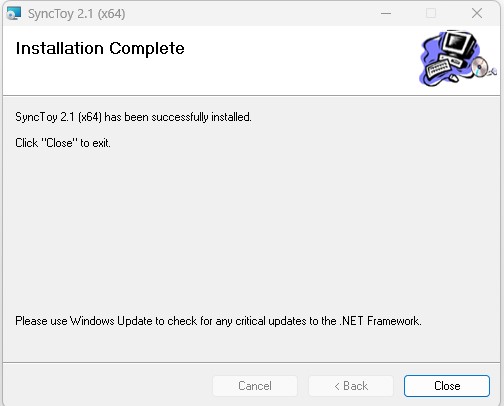
If you are prompted to download additional dotNet Framework files, that is not unusual.
Accept the additional dotNet installation.
Learn how to setup and run up your backup.

¯\_(ツ)_/¯
Gerald Reiff